Showing posts with label dictionary paper. Show all posts

Monday, April 30, 2012

Painted greetings

I have really wanted to paint stuff lately. I currently have three (yes, 3) old wooden doors on my front porch that are just begging to be sanded and painted and, well, I can't give away the surprise of their future yet :) I used pages out of an old book, roughly applied a layer of white acrylic paint to them and stamped on them once dry. I couldn't be done without flourishes and ink distressing, that's just how I roll.
I've never used paint on my cards before and was kinda disappointed with how the sentiment seems to get eaten by the paint, like it just got sucked into it or something. I know it was completely dry before I stamped on it, maybe next time I'll try a diffrent kind of paint.

Saturday, March 10, 2012

altered canvas


This is a new class that I am offering at my local Michael's store. The student can start with any size or style of canvas that they would like, i used 8x8 plain white, with a bit fatter of side pieces.

These are two of my finished canvases (Is that a word? Is it spelled correctly? Is the plural of "canvas" like the plural of octopus? Is it canvi?) alongside what I started with.

I'm not really a pinky kinda girl, but I think I actually like the pinky one the best.


This one has great colors, love the vintage look that it's got going on.

Almost all of this is just patterned paper that I fussy cut a design out of.

I also used lots of diffrent punches, and of course, ink distressed EVERYTHING!! It seriously felt so good to walk away from a project with my hands just filthy. LOVE it!!


This is my new friend, Cheryl. Come to find out, after spending all afternoon together in this class, she knows my father from about 15 years ago! Such a small world!

Cheryl is new to the world of paper crafting, and you wouldn't be able to tell it from her finished products.

She brought the neatest things to incorporate into her projects. Seed packets, an old flower guide, and vintage sheet music. If you ask me, she's on her way!

Thursday, February 9, 2012

in store demo


made these the other day doing an in-store demo. Fun, Fun!! i got to stand in the front of the store with my supplies interacting with customers, teaching them tricks on the fly.

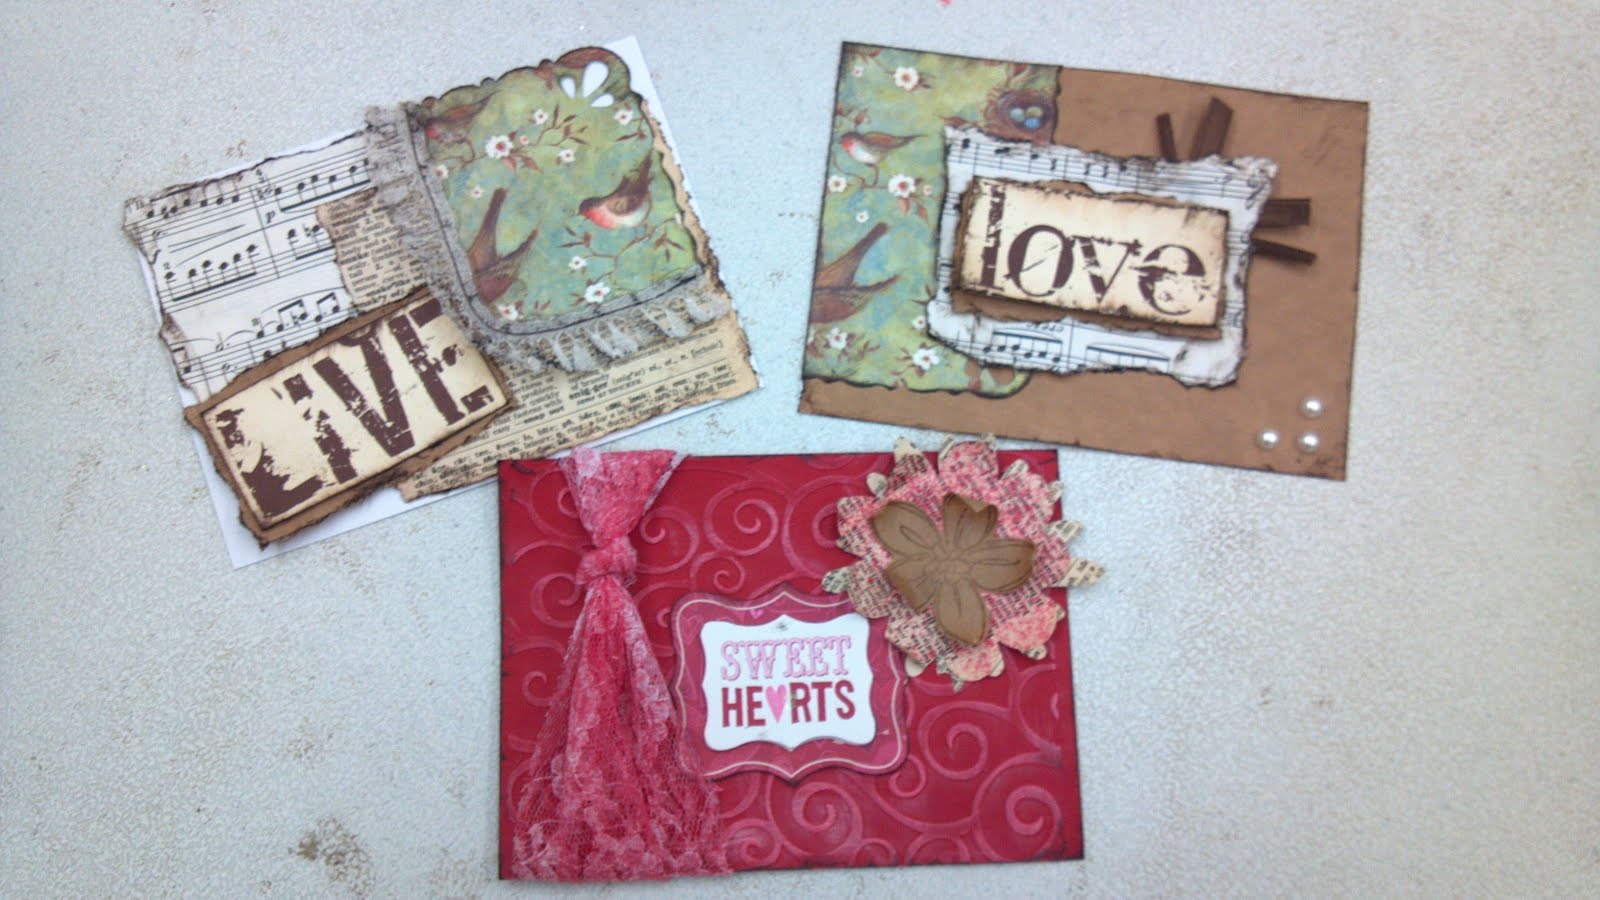
demo'd lots of distressing techniques (imagine that, my FAV!!) and how to use ink to color lace using ink pads & smooch spritz.

Wednesday, February 1, 2012

scrapbook page


this is a page that i made to promote a new class that i am offering at my local michael's store called "sketched out 2". don't worry, #1 is also still available if you missed it :)

lots of stuff going on here, but i'm loving the shabby-ness of it. yes, that is a word, just not sure if i spelled it correctly ;)

if you want to learn to scrapbook, there are lots of classes available now. and don't tell anyone i said anything, but i think in march, all classes will be half off!!!

Tuesday, January 31, 2012

cropping with mom


this is my mom. isn't she lovely? i agree =D

we had a crop at my local michael's store, and look at all the goodies she made! i consider myself so, so, so fortunate to be able to spend time with my mother. my other siblings all live at least 8 hours away (one across the country!!) and don't get a lot of time with my parents. how blessed i am that God shook his head at me asking to move away as an adult.

my mom did a lot of techniques on these cards:

fussy cut
paper distressing
paper tearing
ink distressing
rubber stamping

she used:

ribbon
punches
rhinestones
brads
buttons
and forced me to learn the cricut (boy do i feel dumb! it was simple!!)

she made a hanging piece of wall art for my grandmother (on the right) and a mini album out of paper lunch sacks (on the left).

thanks so much for crafting with me, mom! seriously, the only thing better than family is crafting with family

Sunday, January 22, 2012

tiny dancer


so my little girl is no longer tiny, but she will always be my tiny dancer.

it's odd the way things work out. my oldest daughter is a mini-me, in almost every way. it's seriously so obnoxious! i feel so sorry for what i put my mother through... i'm mostly kidding here. it can be horrible, but i am reaping what i have sowed and God has an amazing plan for my little leader. i got off topic. what i meant to tell you about was her dancing. this girl has some serious moves! ever since she could walk, she could keep a beat. she loves to sing, anything drama related, and when there's music, she can't sit still!

my other daughter is a diffrent story. first off, she's the spitting image of MY little sister. kinda freaky, in fact, maybe i'll post pictures of them at some point just so i can become the told-you-so fairy. well she (like my sister) has no rythem. she tries, oh how she tries, alas the girl can't even clap to a song in time. but more than anything, she is a princess and has always said she wants to be a dancer. we got her into dance classes, she had a blast.... for the first couple of months. she hated it and came to despise going on a weekly basis. needless to say it didn't work out.

no matter the outcome, my little girl will always be my tiny dancer.

this card turned out beautiful, totally more my style. INKY!! i got a new cartridge for my slice and was just dying to try it out, this is the outcome. comment me if you have questions, enjoy your week!

just in case she happens to pop in and read this, my sister needs to know that i'm not in any way trying to offend, i love her so very much. God knew exactly what i would need in a friend when he decided to one-up it and give me you as a sister. love you!!

Monday, September 26, 2011

Tim Holtz card


once again, this was made to demo what the ink distressing Tim Holtz class is all about. Love the shabby look! i walked away from this with inky fingertips, my favorite!

Friday, March 11, 2011

New paper flower technique


I did this card for the sole purpose of making these new flowers. I started by punching 1.5" circles out if dictionary paper (don't have a punch? Wing it by hand! Trust me, you won't be able to tell the difference!). Ok, now you cut into the circle to create a thin spiral shape to the core of the circle, I cut maybe 5 spirals into my circle. Starting with the edge you cut into, start rolling paper into itself until you get to the middle. The tighter you roll, the smaller your flower will be. I used a scrap piece of paper covered in adhesive to lay down my "bud" on, to keep it nice 'n rolled up.
Remember, there's no mistakes, especially with flowers. They're all supposed to be unique anyways.
Have fun playing around! Try different textured paper, like tissue!

Sent from Yahoo! Mail on Android

Monday, August 23, 2010

recycled bird

Card base is covered with packing paper, everything else is from the scrap pile.

I cut the bird out of a magzine, mounted on a srap paper, then adhered with 3D tape to base. Used twine scraps on side. Every paper is inked on sided with tim holtz walnut stain distress ink.