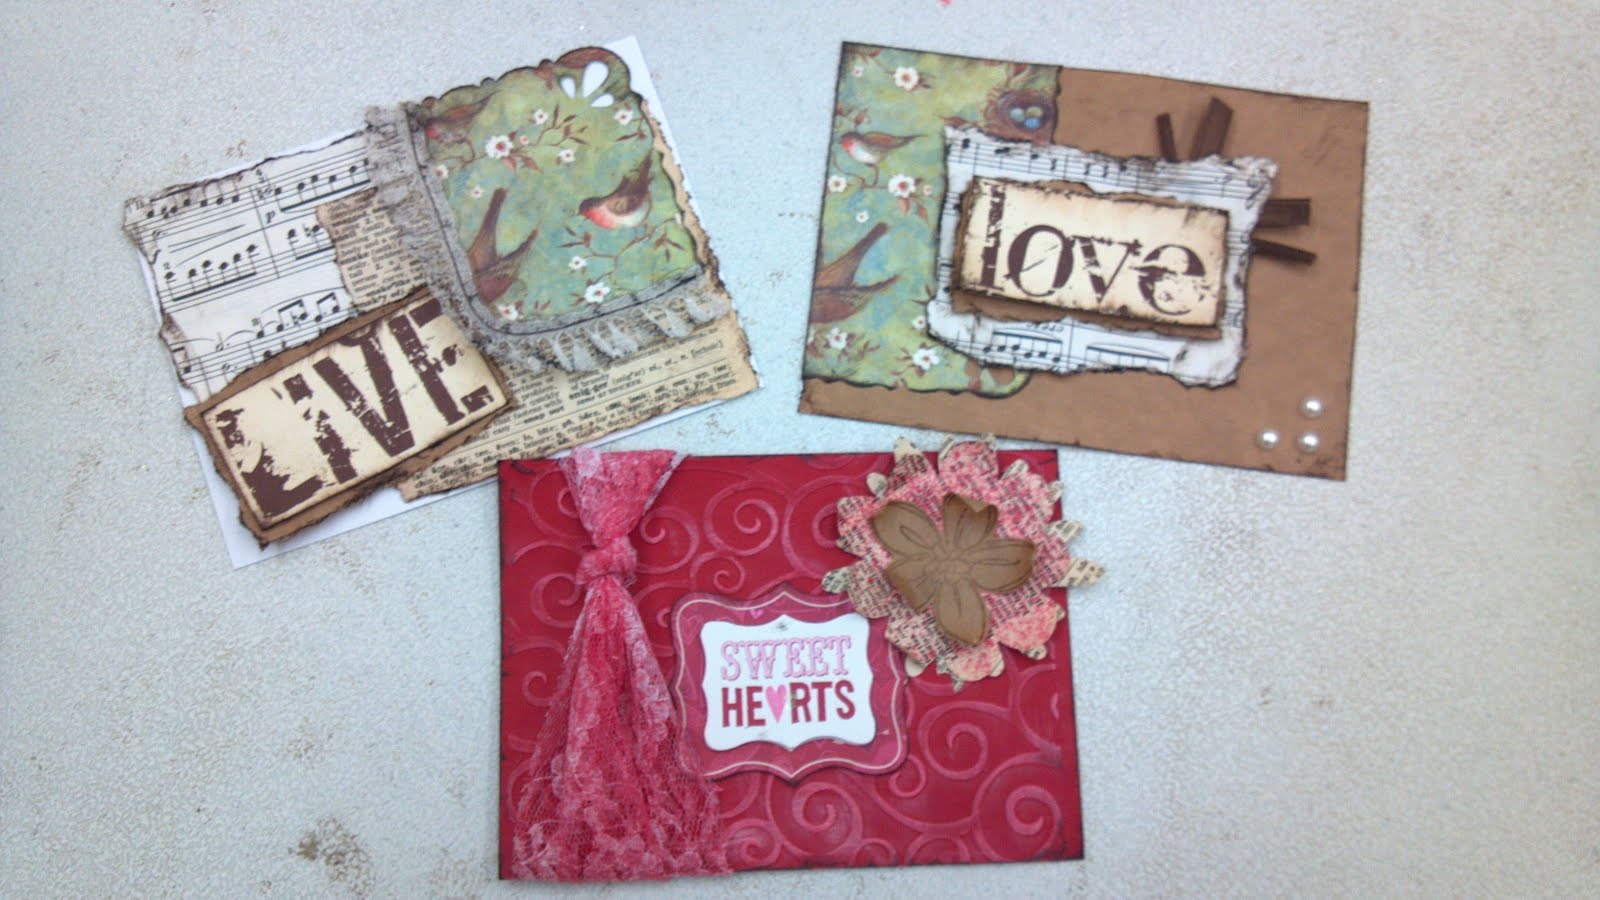
This black, white, & silver one was made special for the grandmother (who is the best looking granny i've EVER seen!! Seriously, she looks nothing like a grandma) who just adores bling. I'm not a blingy girl, myself, so I'm not gonna lie. Putting on those rhinestones was so hard! I wanted pearls, but that's just me. As long as she's happy with it, then all is right with the world.
Made this one for her to hand out to her friends. There is glitter ALL OVER my craft room. No joke. I used spray adhesive then dumped glitter on for the picture corners and boy is everything I was wearing sparkly! I do love the look of the feather on top of the inked doily though, so vintage and feminine.
I printed out her info and inked the edges in pink then foam mounted on the inside of the card. Stamped "made with love" in pink on the backs of all of them. I think they turned out cute and not super pink, which is what she was going for.
Unfortunately, this is the most manly stamp I have. I know, shame on me :(
I have other "guy" stamps, like a BBQ, some ties, and... I'm sure I have something else... Nope. Nothing. I'm so disappointed in myself!
My goal for the next few months: To get a couple of manly stamps
If you have any suggestions on CHEAP stamp sets, pass them on! This girl needs some help!
See my little chicken? I fussy cut him from a magazine and plopped him into the back of the truck. LOVE him!
All this, out of my crafty junk drawer?! You betcha!! Went for the playing card first, then went digging for red stuff to accent it with. I came across this great page in a book, put that away for later use ;) but decided to use his sister page as a background, inked, of course.
A friend of mine needed a birthday card for her brother and masculine stuff is almost never in my stash. Thanks for inspiring me to create today, Ruth!
This was the other make & take from my last workshop. This card was less in depth but took longer as I let all the ladies pick their own paper. We used the "Everyday Enchantment" designer series paper, which is pictured below.
We also used cardstock and patterned paper from the 2011-2013 in colors, seen below.
This was a make & take from my last workshop. Just love the doily die for my Big Shot!
You ever get something that just becomes a staple in your crafty life? For me it would be that great label punch! I seem to use it with just about every other card! You can see it HERE. And guess what?!? There's coordinating stamps to go with it! Yup, I know. Heaven. :)
I have seen several "banner" style cards out there and thought that they were too cute to NOT c.a.s.e. (Copy And Share Everything).
All the flags and pieces are hand-cut, I'm not gonna fuss about perfection, that's just not me.
Give me inky and shredded and this girls satisfied!
Gotta have texture! Used my new SU "dots" embossing folder on the background (which is just brown butcher paper that we were using as a kind-of table cloth).
You can see &/or purchase it HERE
Is it just me, or are birds, bird cages, and chandeliers all the rage right now? I personally, also love owls. There's some super cute stuff out there!
I stamped the bird first in Lavender Lace, then stamped the cage over it in basic black.
I attempted to dye the satin ribbon with ink, it didn't turn out the way I wanted it, so I just flipped it over! :)
made these the other day doing an in-store demo. Fun, Fun!! i got to stand in the front of the store with my supplies interacting with customers, teaching them tricks on the fly.
demo'd lots of distressing techniques (imagine that, my FAV!!) and how to use ink to color lace using ink pads & smooch spritz.
i will be teaching a great class at my local Michael's store later this month on paper bag albums.
these are super easy
-my kids are making one
cheap to make
-hello?! paper bags?!
-use the sticky tape OR hot glue
perfect size for scraps
-goodbye pile!
for info on these super cute paper flowers, click here.
love the distressed look on any (and every) thing.
it's almost better with the great earth tones of a good 'ol lunch sack!
worlds cheapest adhesive? dollar store glue gun, with glue sticks found at thrifts stores or the dollar store. i know not everything works with hot glue, but if it does, *cheap* *cheap*
every page is lined with scraps from my pile
all ink distressed, of course :)
you don't have to have scrap paper inside,
you can doodle, draw, or just adhere pictures
tabs are circle cut outs glued back to back around the edge of the sacks. great little page turners that can be customized!
you can also combine the paper with the doodles
here i did a two-tone page with coordinating paper
and "attatched" them with faux stitches (doodling)
you can "stitch" borders for another amazing sewn look
the word "spot" was me using the cricut to cut out the word "spotted" for another project.
here i used the negative of the word to let the bag show through
just another way to use scraps
the bookmark tag is cut out paper, placed back to back, with the ribbon adhered to the inside of them
for the back i continued with the negative use of die cut words and flowers
i love this little book. can't wait to fill all the little nooks & crannies with memories and treasures!
this is a page that i made to promote a new class that i am offering at my local michael's store called "sketched out 2". don't worry, #1 is also still available if you missed it :)
lots of stuff going on here, but i'm loving the shabby-ness of it. yes, that is a word, just not sure if i spelled it correctly ;)
if you want to learn to scrapbook, there are lots of classes available now. and don't tell anyone i said anything, but i think in march, all classes will be half off!!!
we had a crop at my local michael's store, and look at all the goodies she made! i consider myself so, so, so fortunate to be able to spend time with my mother. my other siblings all live at least 8 hours away (one across the country!!) and don't get a lot of time with my parents. how blessed i am that God shook his head at me asking to move away as an adult.
my mom did a lot of techniques on these cards:
fussy cut
paper distressing
paper tearing
ink distressing
rubber stamping
she used:
ribbon
punches
rhinestones
brads
buttons
and forced me to learn the cricut (boy do i feel dumb! it was simple!!)
she made a hanging piece of wall art for my grandmother (on the right) and a mini album out of paper lunch sacks (on the left).
thanks so much for crafting with me, mom! seriously, the only thing better than family is crafting with family
i will be teaching a new class at Michael's starting next month titled "flowers WOW!". these are the wonderful creations we will come up with! just because you're you, and i love you, i'm gonna share my how-to with these. super simple!!
for these flowers, i started with a 6x6 square of cardstock. i rounded the corners (doesn't have to be perfect) and then, using regular scissors, cut into paper like a circle, but creating a spiral shape, trying to leave about 2cm in between cuts. when you get to the center of the paper, leave about the size of a nickel un-cut. starting with the outside, roll the paper around a pencil until you get to the "nickel" piece. here you can keep the flower tight or let it loose if you'd like, i let mine go just a bit.
i used hot glue gun on the "nickel" piece and pressed my flower into in lightly.
here's where the variations come in. you can use decorative scissors to cut the spiral, changing the look of your "petals"; ink &/or stamp the paper before you roll it. you can also spray glitter or shimmer mist onto finished flower, or mist lightly with water and smash with your palm. lots of cool things to do with these!!
i used a piece of brown paper bag on this, wanna play "i spy"?
this turned out super cute, it's definatly on my "like" list. honestly, it's amazing how many projects i finish and end up not liking the results. this here, not one of 'em! lots going on, but there's no such this as too much.
baby & i have both been sick for the last couple of days, it was nice to get my fingers dirty. i love how i can jump into my hobby whenever i want. having a craft area in the house is so convenient. i'm so fortunate to be able to have a hobby. before i came across paper crafting, i was the person my family had wrapping all the gifts at Christmastime. that was pretty much the extent of my craftiness. i love it when God makes me blossom!
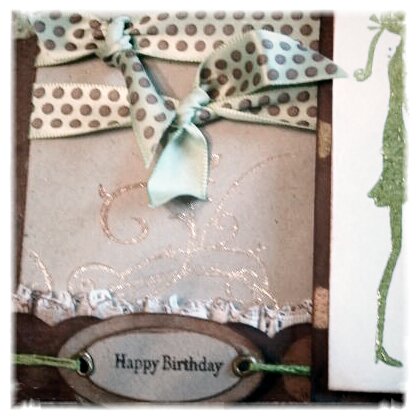
card is 5x5
i stamped a flourish then went over it in a glitter pen.
girl is heat embossed in a clear gloss.
i inked the lace before bunching it up behind the patterned paper.
to cut the scallops, i took the guide off my slit punch and made it into a border punch.
so my little girl is no longer tiny, but she will always be my tiny dancer.
it's odd the way things work out. my oldest daughter is a mini-me, in almost every way. it's seriously so obnoxious! i feel so sorry for what i put my mother through... i'm mostly kidding here. it can be horrible, but i am reaping what i have sowed and God has an amazing plan for my little leader. i got off topic. what i meant to tell you about was her dancing. this girl has some serious moves! ever since she could walk, she could keep a beat. she loves to sing, anything drama related, and when there's music, she can't sit still!
my other daughter is a diffrent story. first off, she's the spitting image of MY little sister. kinda freaky, in fact, maybe i'll post pictures of them at some point just so i can become the told-you-so fairy. well she (like my sister) has no rythem. she tries, oh how she tries, alas the girl can't even clap to a song in time. but more than anything, she is a princess and has always said she wants to be a dancer. we got her into dance classes, she had a blast.... for the first couple of months. she hated it and came to despise going on a weekly basis. needless to say it didn't work out.
no matter the outcome, my little girl will always be my tiny dancer.
this card turned out beautiful, totally more my style. INKY!! i got a new cartridge for my slice and was just dying to try it out, this is the outcome. comment me if you have questions, enjoy your week!
just in case she happens to pop in and read this, my sister needs to know that i'm not in any way trying to offend, i love her so very much. God knew exactly what i would need in a friend when he decided to one-up it and give me you as a sister. love you!!
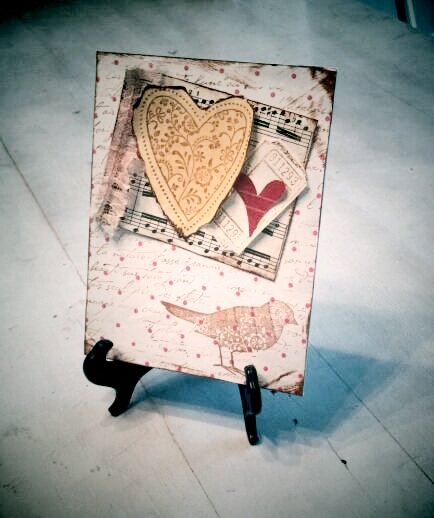
the valentine card i made last was cute, but so clean!! i just couldn't deal with it, so i had to make a shabby one! it's just not "jenn" if it's not ink distressed :)
many layers to this card, most of which i used tim holtz walnut stain on. the patterned bird and heart are from a SU (stampin' up!) set, so is the script that is stamped onto the patterened paper. the ticket stamp is a new one. well, not new, i've had it for about a year and half and never taken it out of it's package. it's from invoke arts and they have some great stuff! check them out here.
well, not just because. my sister came to visit (both of my sisters, actually) a couple of weeks ago. they were joined by a large part of my family. a mini-reunion, if you will. they were all in town to celebrate birthdays, anniversaries, and a local once-per-year festival.
is your family like mine? the most valuable thing to us is our time. sooo, we grouped my mothers 60th, my sisters 33rd, my other sisters 30th, my brothers 28th, and my parents 20th anniversary all into one afternoon. it was the same weekend as "cheese days" (friday-sunday annual gathering of locals in our small town celebrating our towns heritage involving manufacturing of cheese. describing the joy of cheese days would take far too long. maybe another time...).
anyways, this card was done for my sisters 30th birthday. i hope she loved it and had a fantastic birthday. love you sis!
this was done for my mothers birthday. it's rich, elegant, sophisticated, and appears complex. just like her.
i love this nature set by SU. i used blender pens w/ chalk to color it for that perfect "soft" look. colors are feminine and warm. any chance i get to use my embossing folders with my cuttlebug, i jump on. LOVE the look!
Stamped truck (SU) in stazon black on white cardstock. Lightly colored in with watercolor pencils (SU) then used watercolor brush to blend. After dry, I cut it out. Layered truck on scallop circle (nestabilities used with my cuttlebug) which was pierced around the edges.
Partner a truck with some manly patterned paper and ink distressing and you've got a great card for that special man in your life!
My sis-in-law just graduated medical school!! Great job Sam, we're so proud of you!
I used my slice for the girl. Hat and sentiment are stamps from a $1 bin set from michaels. Embossed swirls with cuttle bug then sanded & ink distressed them.